Best Affordable Travel Camera for Photographers
I’m the
research-every-option-until-I’m-exhausted
type of decision maker.
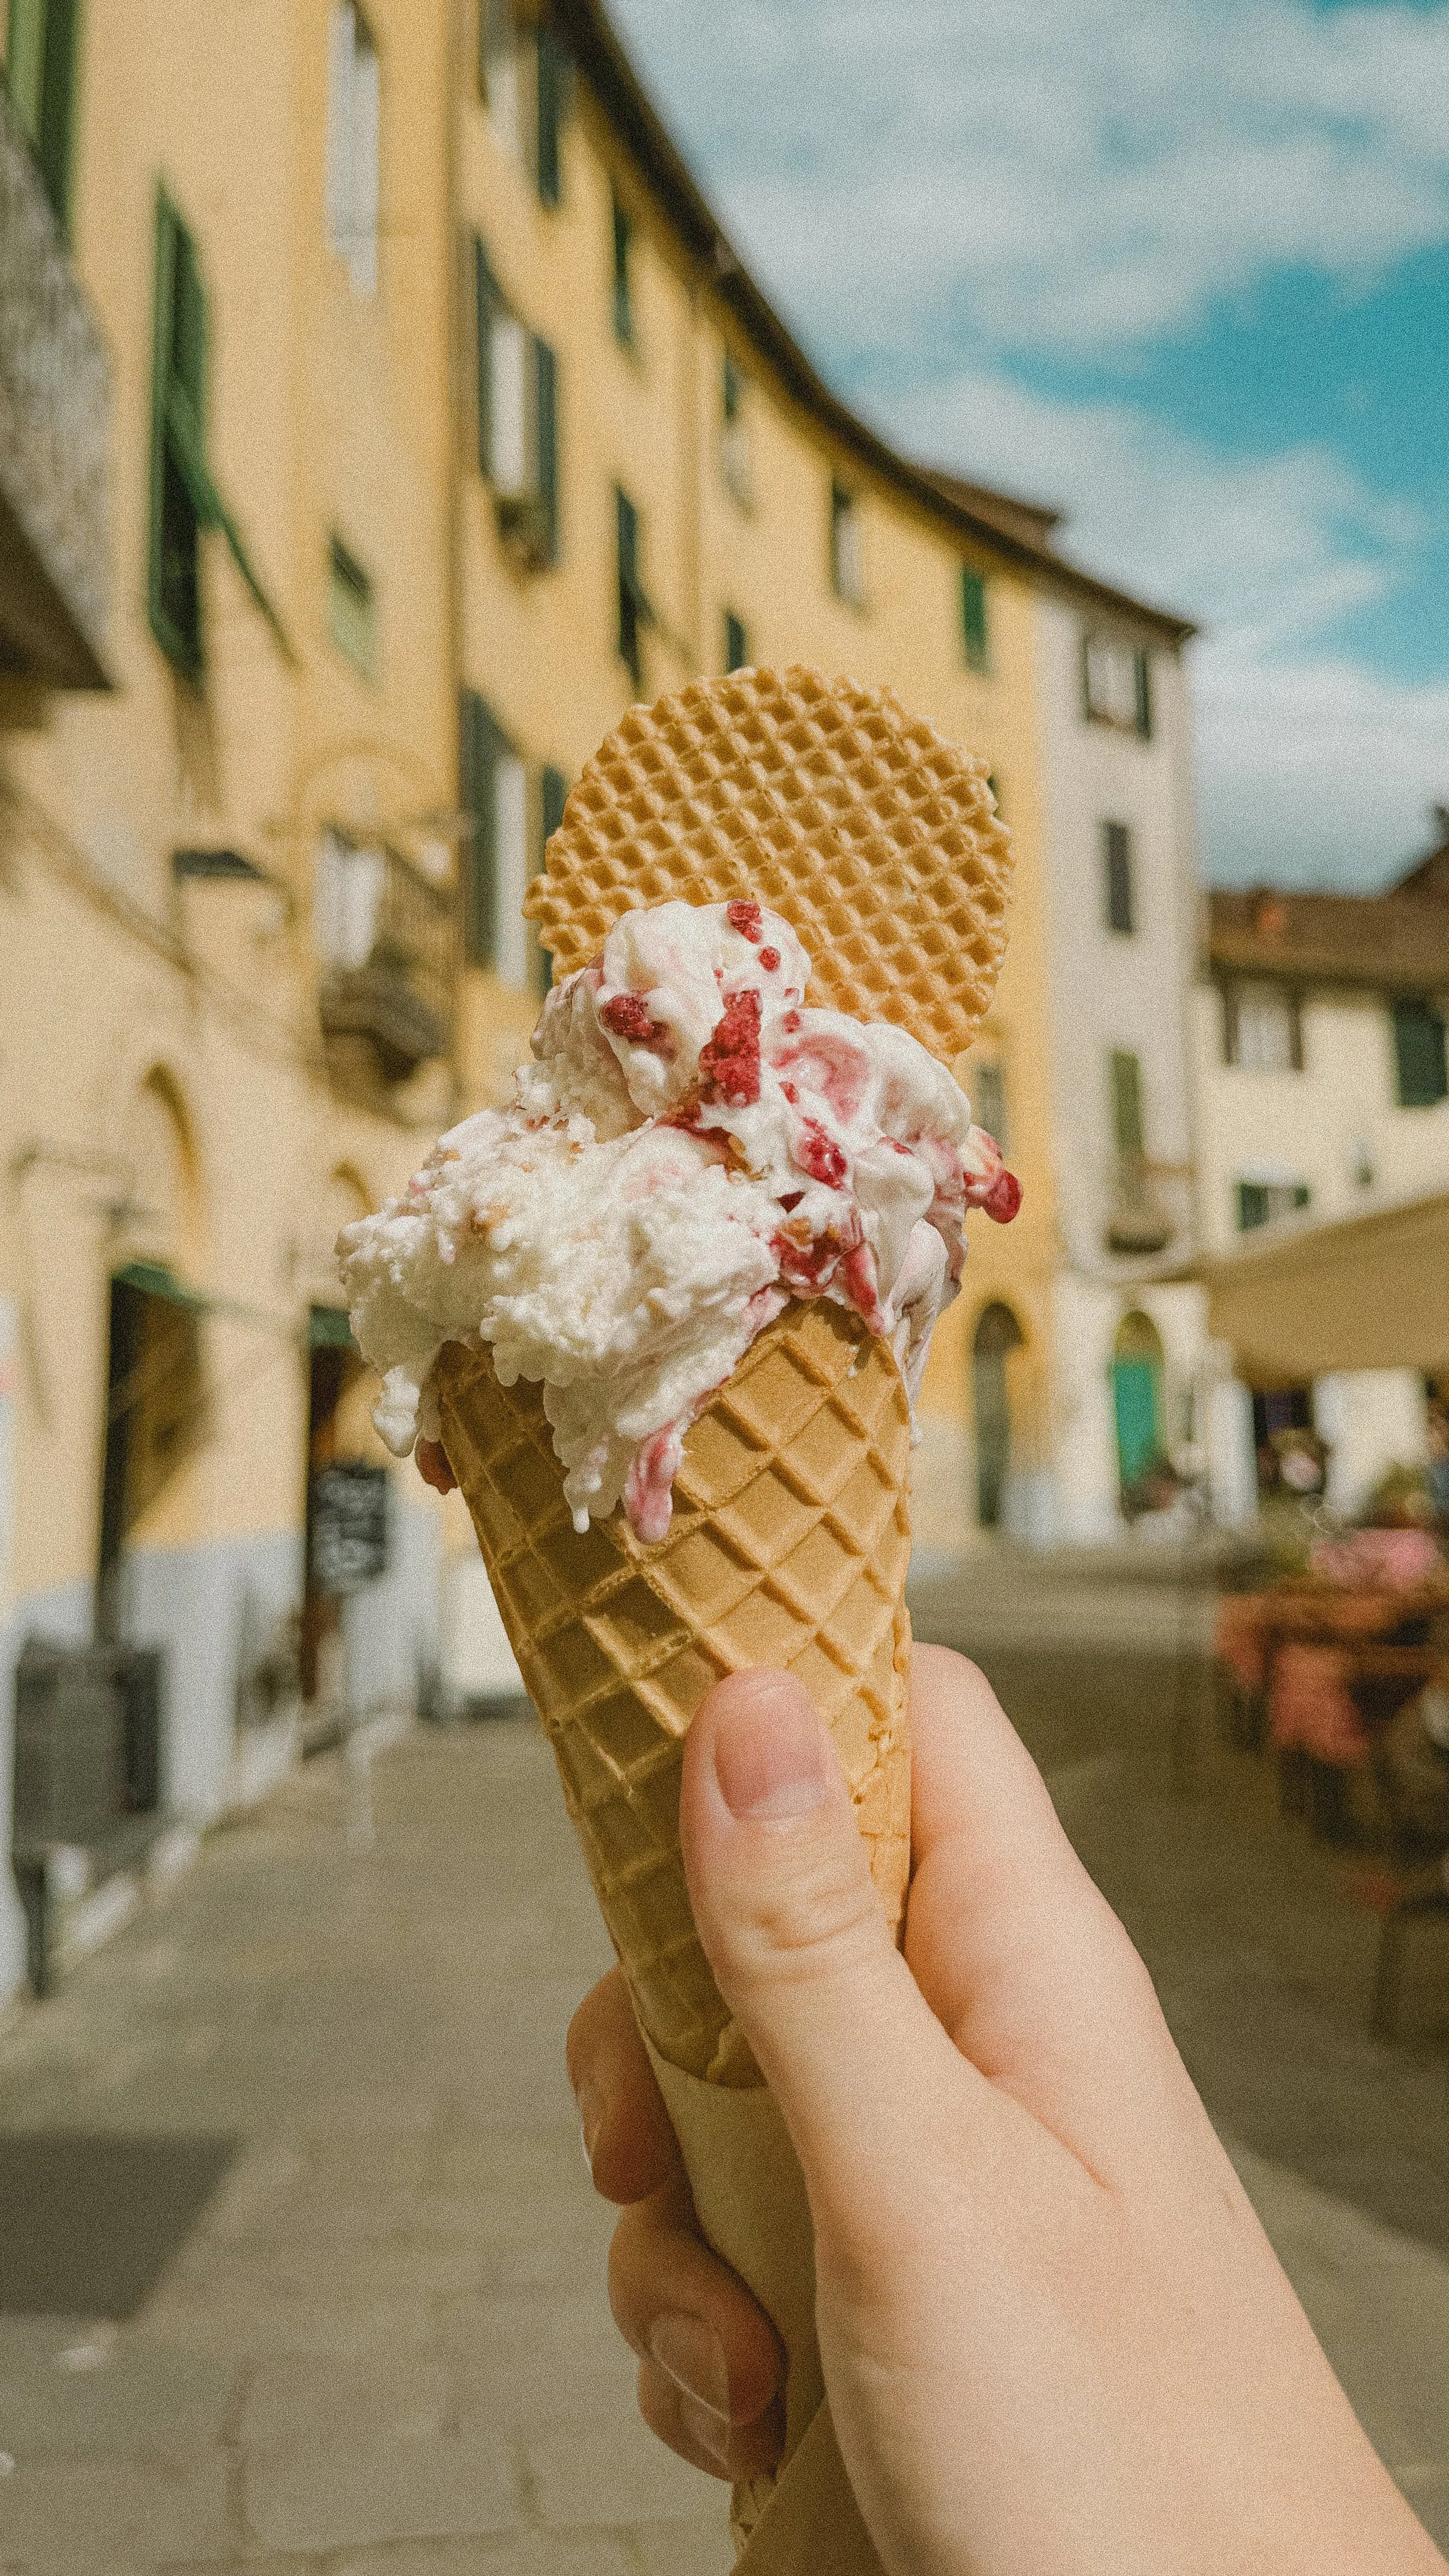
So, it wasn’t different when it came to deciding what camera gear to bring with me when we went to Italy this spring.
THERE'S ONE CAMERA I'D CHOOSE OVER ALL OTHERS...
but it's probably not what you think. 
NORMALIZE NOT BEING NORMAL
⭑
NORMALIZE NOT BEING NORMAL ⭑


I’m from Alberta, Canada. 5-6 months of the year our landscape is… mostly not cute. So, the months leading up to shooting a destination wedding in Italy were EXCITING, but stressful deciding how to pack, travel and compact all my photography gear safely.
A lot of photographers and clients have asked me, what’s the best affordable travel camera?
Let’s break it down… shall we?!
What makes a good travel camera?
MY TOP 3 NON-NEGOTIABLES:
01. QUALITY What’s the potential that your images are going to be blown up on a billboard somewhere?
For us… sure, maybe the Tuscany wedding photos or day after session in Venice. We brought our main camera bodies and lenses for those:
- Canon EOS R6
- Canon 35mm 1.8 RF
- Canon 50mm 1.8 RF
- Canon 85mm 1.8 RF
- and my Canon 70-200mm 2.8 RF
BUT - what a pain in the butt to carry around all my prime lenses just for personal photos.
If I REALLY wanted to, I took out our pro gear a handful of times…
my choice was my 50mm and one R6 camera body.


But, I shot ALL of the photos in this blog on a different camera…

02. CONVENIENCEThe pick-pocketers were a HUGE consideration here, too. We bought a new backpack for the trip. NOT a fancy camera bag (they’re a dead giveaway) or an expensive anti-theft backpack. Just a regular backpack, strapped up with paracord, s-clips and sneaky distractions. It worked. 🤘
But, man oh man, was it annoying to have to unclip, unzip, retract and pull out all the booby traps every time I wanted to grab a new lens.
Almost as annoying as the whole, bring camera home, plug in dead computer, find hard drive, dump memory card, cull, Lightroom catalog, edit 3 photos (and probably forget about the rest forever) process for personal photos.
There is one thing more annoying than that though: carrying around my big camera and heavy lenses on my sweaty back on 10+ hour walk around days. No thx.
03. INVESTMENTIf I owned the Canon 24-70mm 2.8 (or similar), I may have been more excited to carry it around. But, I don’t really NEEEEEEEED it with our prime lenses covering that entire focal length (and then some). It didn’t seem worth it to drop another $3000-4000 on a lens just for the trip.
I was ABOUT to buy the viral Canon G7Xiii, until I tested + fell in love with THIS camera.


From a 6-year wedding photography veteran…
If I could only pick ONE camera to take with me…
(not for wedding photography)
the end all be all,
mother of all mothers,
⭑ iPHONE 15 PRO MAX ⭑but, it took me a MINUTE to figure out
how to shoot crisp, clean, “pro” looking photos and video on my iPhone.
(Ya… embarrassing as a professional photographer LOL). 😬 Lemme break it down for ya…


HEAR ME OUT...When I’m traveling, the laaaaaaast thing I want to do is be lugging pounds of gear around, juggling lenses, charging batteries, memory cards, etc.
Pro camera’s worth travelling with are going to set you back a minimum $1000-2000. Save that money for the trip itself, and upgrade your phone before you go!
BEFORE WE GET INTO THE 3 BEST iPHONE PHOTOGRAPHY TIPS...First and most importantly:
LOWER YOUR EXPOSURE.
+ SHOOT IN RAW.
1. Press and hold on your iPhone camera screen until the sun pops up beside the focus box.
2. Slide the sun up and down with your thumb up.
I promise you (as long as you’ve got the RAW files) you’ll be able to pull the details back up.

If you’ve read this far and you’re thinking
“I do all that and my photos still suck”…
step one is your game-changer :
If you’re struggling with how to take better iPhone photos…
ONE: Learn BackwardsSeems counter-intuitive to master editing BEFORE mastering taking the photo (camera settings, lighting, composition, etc). But, learning backwards taught me how to fix EVERYTHING that I couldn’t control - like harsh lighting at a wedding ceremony and other inevitable hiccups as a pro photographer.
All the Lightroom tips and tricks helped me to compose my iPhone images smarter.


Your iPhone images are stored as .HEIC files, which have less detail and colour accuracy than pro digital camera RAW formats. HEIC files contain less information - so they are more challenging to edit. Knowing and understanding HOW each tool in Lightroom affects my images is how I achieve EXACTLY the look I want without struggle.

A professional photographer can make mediocre iPhone photos pop offfffff because (SURPRISE) they know Lightroom better than the back of their hand.

A lot of photographers are self-taught… leave Lightroom Classic out of it, Lightroom MOBILE (the one with less sliders lol) was intimidating before I had any photography editing courses under my belt. 👉👈
GROWTH after spending 5 years in Lightroom. 🤯
2019 ↓ (not iPhone photos lol)

2024 ↓ (not iPhone photos lol)


TWO: New Glass I REALLY regret not buying a wee lil lens kit for my iPhone. If you really wanna beat me to it; I had my eye on this 60mm Telephoto iPhone Lens
with this case and backplate.
BUT - I recently bought this cheap fisheye lens and it’s honestly SO FUN to play with. I loooooove that I can clip it on in 2 seconds for that retro nostalgic feel. Also - it’s TINY. Fits so easy in my sling bag!
THREE: Try Something New For OnceSo, we’ve got some options in the ‘ol iPhone camera:
’Cinematic’ Mode. 1x and 2x
’Photo’ Mode. 0.5x, 1x, 2x and 5x
’Portrait’ Mode. Natural Light, Studio Light, Contour Light, Stage Light, Stage Light Mono, High-Key Light Mono
And ‘Pano’ Mode if you really wanna go crazy.
Most of my photos are taken on regular photo mode at 0.5x or 2x.
Got the zoomies? If you want the best photos… use only the pre-set iPhone focal lengths
0.5x: 13mm, 1x: 24mm, 2x: 48mm, 5x: 120mm
instead of zooming randomly in. Here’s why:
QUALITY: Pre-set focal lengths use the physical lenses on the iPhone, which give you the best possible quality. Digital zooming (for example: 3.7x) crops the image, which can reduce resolution and introduce noise.
STABILITY: Apple devices are optimized for each lens on the phone. Using the pre-set focal lengths provides better stabilization, reducing blurriness.
LOW-LIGHT PERFORMANCE: The pre-set lenses are better equipped to handle low-light conditions compared to digital zoom.


© daria x ben creative co.
DXBCREATIVE.CO